
Quick answer
A useful pre-shipment inspection confirms the finished quantity, samples the packed goods against an agreed specification, records measurable defects, verifies labels and cartons, and produces traceable photo or video evidence. Release the balance only after the report passes your written acceptance criteria and every critical issue is closed.
Pre-shipment inspection (PSI) is usually the buyer’s last practical control point before goods leave the factory. Once cartons enter the logistics chain, correcting a production defect becomes slower, more expensive and more contentious.
In our sourcing work, the best inspections are not generic factory visits. They start with the approved sample, purchase order and packaging specification, then test the finished order against those documents. The goal is not to produce a thick report. It is to make a clear shipment decision.
What a pre-shipment inspection can—and cannot—prove
A PSI can show whether sampled finished goods match the buyer’s documented requirements at a particular time. It can uncover workmanship problems, mixed sizes or colours, missing accessories, incorrect labels, weak packaging and obvious functional failures.
It cannot prove that every unit is perfect, replace laboratory testing, certify regulatory compliance by itself, or correct a vague purchase order. If a safety or compliance claim matters, define the required test method and qualified laboratory before production begins.
The seven-part inspection scope
1. Quantity and completion status
Confirm how many units are fully produced, packed and available to sample. Record unfinished or unpacked goods separately. An inspector should not accept a “representative” pile prepared away from the full shipment.
2. Product identity and assortment
Match style numbers, colours, materials, sizes and pack ratios to the purchase order. Open cartons from different positions and compare inner labels with outer carton marks. Mixed SKUs are a common operational error even when the product itself is well made.
3. Workmanship and appearance
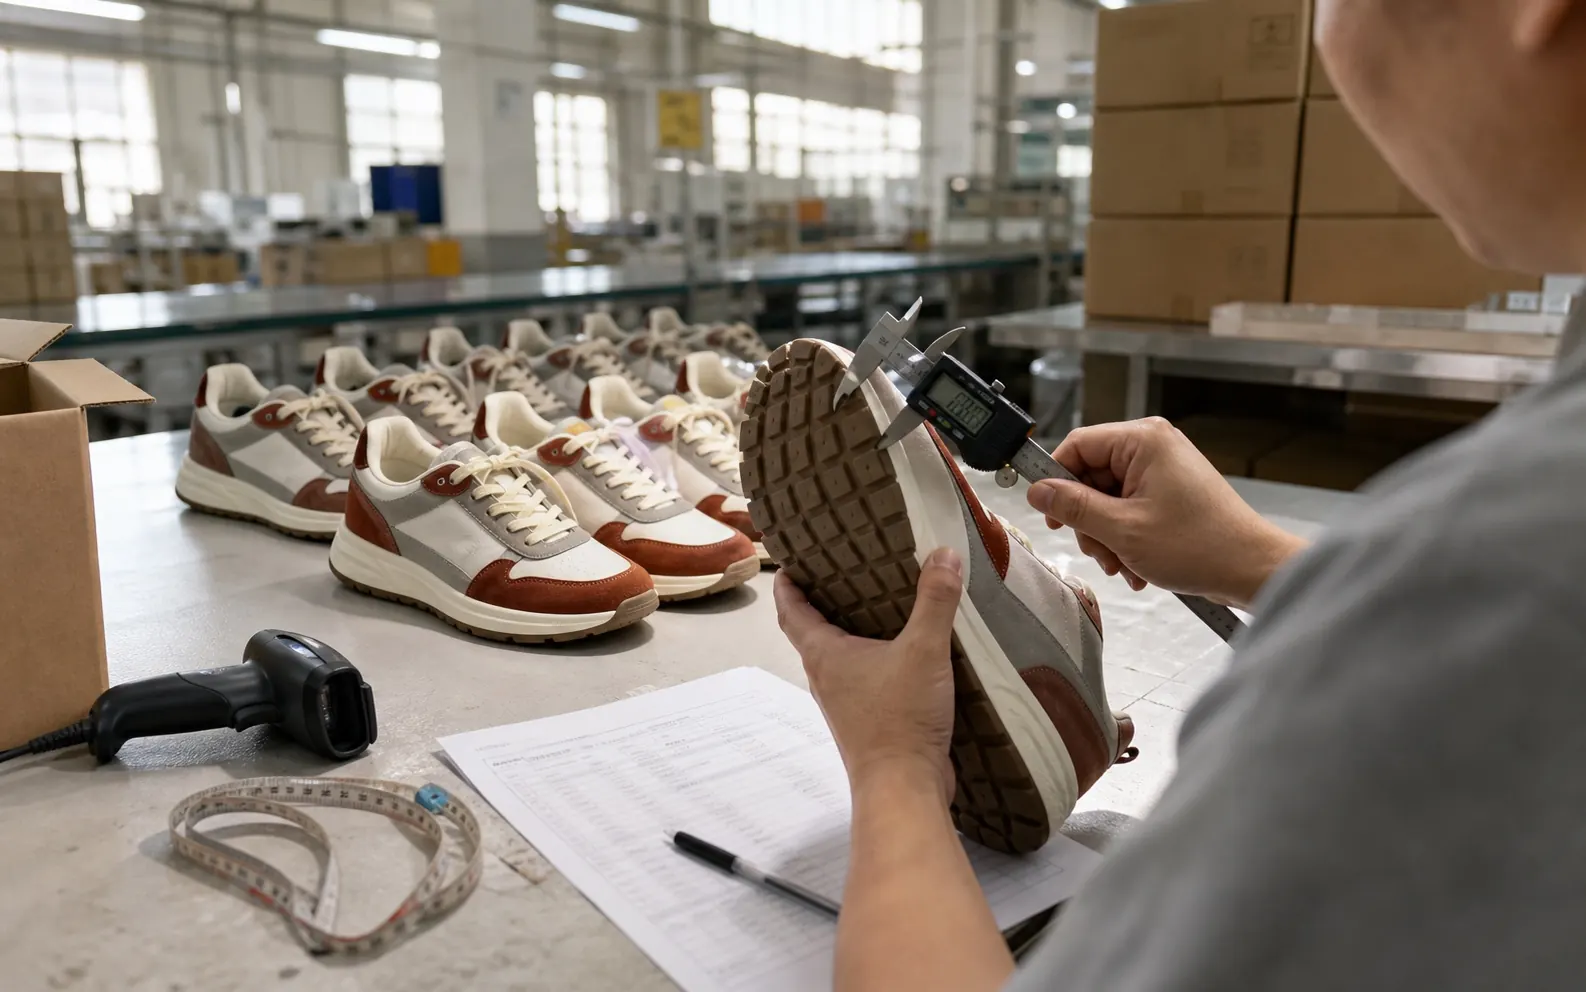
Define defects before inspection. For footwear, this may include open bonding, excess glue, uneven stitching, colour variation, lasting distortion, damaged eyelets or mismatched pairs. Photos should show the defect close up and identify the affected style and carton.
4. Measurements and materials
Check the dimensions and tolerances written into the specification. Use appropriate tools and photograph the reading. Material composition or restricted-substance claims require the agreed documents or laboratory reports; visual inspection alone is not enough.
5. Function and simple performance checks
Run product-specific checks such as zipper operation, snap strength, fit of components, basic flexing, adhesion spot checks or assembly. The method, sample size and pass criteria should be agreed before the inspector arrives.
6. Labels, barcodes and required inserts
Scan barcodes where possible. Verify country-of-origin labels, care labels, size markings, hangtags, user instructions and required warning information against the approved artwork. A beautiful product with unusable retail data can still miss a launch window.
7. Packaging and shipping marks
Check inner packing, carton dimensions, gross and net weight, sealing, moisture protection and shipping marks. Photograph full cartons and their labels. If drop testing or other packaging tests are required, write the procedure into the inspection plan.
A buyer-side decision checklist
| Control point | Evidence to require before approval |
|---|---|
| Order readiness | Finished and packed quantity, location of all goods, and explanation for any balance still in production. |
| Reference standard | Approved sample, signed specification, purchase order and packaging artwork available to the inspector. |
| Sampling | Random cartons selected across the shipment, with the sampling plan and acceptance limits recorded. |
| Defects | Counts by critical, major and minor category; photos tied to a style, size and carton where possible. |
| Measurements | Actual readings, required tolerances and clear photos of the measuring method. |
| Retail data | Scanned barcode results plus approved-versus-actual images for labels, tags and inserts. |
| Packaging | Carton dimensions and weight, shipping marks, sealing method and any specified packaging-test results. |
| Corrective action | Written rework plan, completion evidence and reinspection result for issues that block shipment. |
Do not treat AQL as a quality guarantee
Many inspections use an acceptance sampling plan, often described by an AQL level. It is a decision method for a sample—not a promise that the shipment contains no defects. The buyer still needs to define what counts as critical, major or minor for the actual product. For the current international reference, consult ISO 2859-1:2026; applying a sampling plan still requires product-specific judgment.
Critical defects should normally have zero tolerance. Major and minor limits depend on product risk, customer expectations and the contract. If you are unsure, agree the classification with your quality professional before production, not on inspection day.
Operator’s rule: if a defect cannot be tied to a written requirement, the factory will see it as an opinion. Turn expectations into specifications before the first production unit is made.
What the evidence pack should contain
- A report date, factory location, purchase-order number and inspector identity.
- Photos showing the available quantity and how cartons were selected.
- A list of every reference document used during inspection.
- Sample size, defect counts and the resulting pass, fail or pending decision.
- Measurement and functional-test results with visible methods.
- Wide, medium and close-up images of products, labels, packing and defects.
- A corrective-action list with owners and deadlines for unresolved issues.
When should you release the balance payment?
Connect payment to evidence, not reassurance. A sensible gate is: production is complete, the agreed inspection has passed, critical documents are correct, and any blocking issue has been reworked and verified. If the report is conditional, state exactly what must be closed before authorization.
Also check that the beneficiary account matches the contracting entity or a properly documented arrangement. Product approval does not remove payment fraud risk. For a first order, structure milestones so that your financial exposure remains proportionate to verified progress.
Red flags that deserve a pause
- The factory restricts access to the full finished quantity or chooses all sample cartons.
- The inspector receives no approved sample or current specification.
- Photos lack context, carton identity or measurable readings.
- A failed result is changed to “pass” based only on a promise to rework later.
- The supplier creates urgency around shipment or balance payment before evidence is complete.
Download the blank pre-shipment evidence checklist to connect each requirement with its inspection method, sample plan, evidence reference and disposition. It is a working template, not a completed inspection report or shipment approval.
Editorial note: this guide was prepared with AI-assisted drafting and image generation, then reviewed and edited for practical sourcing accuracy by ZWC’s team. It is general operational guidance, not product-specific compliance or legal advice. ZWC's company disclosures and blank evidence library are maintained in the Trust & Evidence Center.